nanDECK - What's new in version 1.15
![]() New VISUAL/ENDVISUAL
directives
New VISUAL/ENDVISUAL
directives
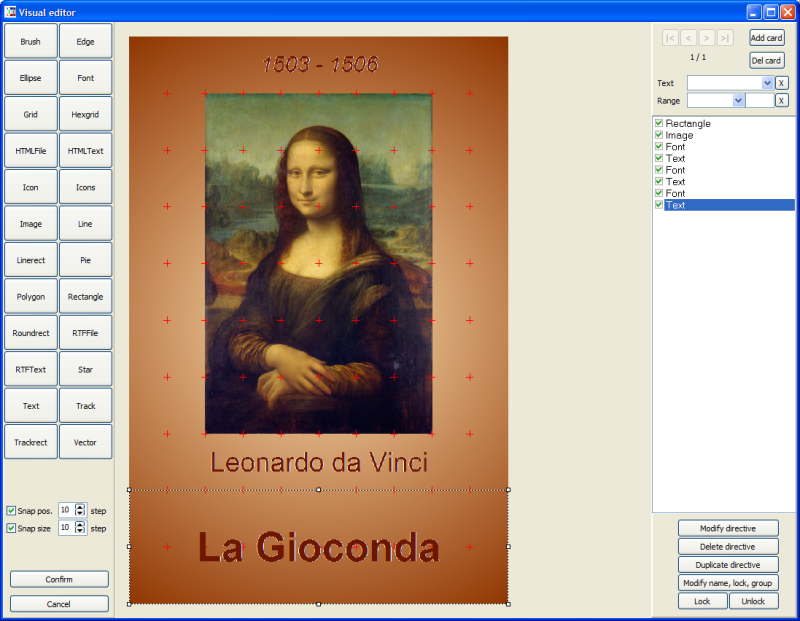
You can open the Visual Editor with a click on the “Visual editor” button, or pressing F4 on the keyboard, this is the main form:
The visual directives are a subset of the standard ones, and are
loaded from a section of the source delimited with VISUAL / ENDVISUAL directives,
for example:
VISUAL
ELLIPSE = 1, 0, 0, 100%, 100%, #0000FF
ENDVISUAL
With this script, when you press the “Visual Editor” button, the program loads the lines between VISUAL / ENDVISUAL in the visual GUI, and you can modify them, or add new directives (with the toolbox on the left of the window).
When you press the “Confirm” button, all the objects are inserted in the source, between VISUAL / ENDVISUAL, so there is a two-way interaction between source and GUI (but only in a section of the source). Non-visual directives are not allowed in this section (the program gives an error in the validation step).
If the VISUAL / ENDVISUAL section is not present, the program shows you an empty GUI (but you can add new objects) and when you return to the source, a visual section is added to the end of it.
You can see at the right of the GUI window a list of directives, that will go to the source if confirmed, that are layered from the top (first, to the rear) to the bottom (last, to the front). They can be drag and dropped across the list to change their layer position (the result is shown immediately in the main panel).
At the top right of the window there are some buttons to navigate through the deck (and add or delete cards), a combo box for choosing a label / sequence to be inserted in directives like TEXT or IMAGE and another combo box for choosing a sequence to be used with a LABELRANGE function to choose a range (the object is shown only when the item of the sequence is equal to “1”).
Mouse controls:
- double click (on the command, to the right of the screen): modify comment,
lock and group of an object,
- right click (on the object and the command): modify the parameters utilized
for rendering,
- use the mouse wheel to move between cards.
Shortcuts:
CTRL+D duplicate the current object,
CTRL+L lock the position of the current object,
CTRL+U unlock the position of the current object.
![]() New SECTION/ENDSECTION directives
New SECTION/ENDSECTION directives
You can enclose lines of the script with SECTION / ENDSECTION directives, and enabling / disabling them with a parameter ON / OFF.
Also, a window is shown with checkboxes for a rapid selection of sections to be enabled. For example:
SECTION=Red,ON
RECTANGLE = 1, 0, 0, 100%, 33%, #FF0000
ENDSECTION
SECTION=Green,ON
RECTANGLE = 1, 0, 33%, 100%, 33%, #00FF00
ENDSECTION
SECTION=Blue,ON
RECTANGLE = 1, 0, 66%, 100%, 33%, #0000FF
ENDSECTION
This is the window:
![]() New LINKRANDOM
directive
New LINKRANDOM
directive
With this directive you can enable the randomization of the lines from a data file. For example:
LINKRANDOM = ON
LINK = "data_file.xls"
![]() New VECTOR directive
New VECTOR directive
You can load .svg images to be rendered on the cards. The routine isn't complete (some features, like gradients, aren't supported). This is the syntax:
VECTOR = "range", "image file", pos_x, pos_y, width, height, angle, alpha-channel
![]() New SAVEPDF directive
New SAVEPDF directive
This directive saves the deck of cards in a PDF file. The syntax is:
SAVEPDF = "filename"
![]() New BRUSH directive
New BRUSH directive
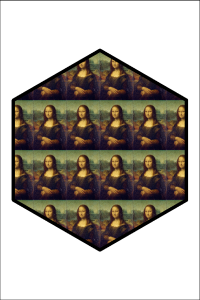
You can change the style used for filling the shapes in directives like ELLIPSE, FILL, HEXGRID, PIE, POLYGON, RECTANGLE, ROUNDRECT, STAR, and TRIANGLE. This is the syntax:
BRUSH = "range", style, image file, width, height
This is an example, with an image fill:
BRUSH = 1, CUSTOM, "Mona_Lisa.bmp", 1, 1.5
POLYGON = 1, 0, 0, 100%, 100%, 6, 0, #000000, #000000, 0.1
![]() New CONCAT1 function
New CONCAT1 function
This function is similar to CONCAT, but without the parameters for specifying the number of repetitions of each parameter. For example, these two lines are equals:
[test] = CONCAT("one", 1, "two", 1, "three",
1)
[test] = CONCAT1("one", "two", "three")
![]() Added parameter
in RENDER directive for creating rendering ranges
Added parameter
in RENDER directive for creating rendering ranges
With this parameter, you can create different ranges of cards, and selecting one of them from a window. For example:
FONT = Arial, 72, , #000000
TEXT = 1-100, {§}, 0, 0, 100%, 100%
RENDER = 1, 25, "First"
RENDER = 26, 50, "Second"
RENDER = 51, 75, "Third"
RENDER = 76, 100, "Fourth"
This is the window:

![]() Added flag R in
IMAGE directive for not adjusting size of rotated images
Added flag R in
IMAGE directive for not adjusting size of rotated images
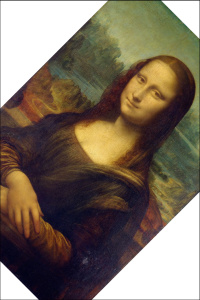
Usually, if you rotate an image of an angle not multiple of 90°, the image is scaled to be enclosed entirely in the destination rectangle. If you add the R flag in the IMAGE directive, the image isn't scaled.
For example:
IMAGE = 1, "Mona_Lisa.bmp", 0, 0, 100%, 100%, 45, P
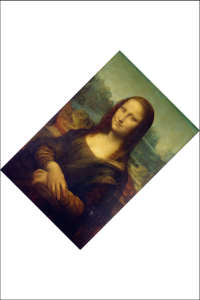
IMAGE = 1, "Mona_Lisa.bmp", 0, 0, 100%, 100%, 45, PR
![]() Added shortcuts
for quick rendering of the current card
Added shortcuts
for quick rendering of the current card
You can validate and buil the current card (only) by clicking with the right mouse button, or using the CTRL + B shortcut on the keyboard.
![]() Fixed bug in SAVE directive
Fixed bug in SAVE directive
![]() Fixed bug in IMAGE directive
Fixed bug in IMAGE directive
![]() Fixed bug in DIRFILES function
Fixed bug in DIRFILES function
![]() Fixed bug in sequence management
Fixed bug in sequence management